Images – these days, you don’t want to publish a post without one. If you want people to share your content, then you need images (even if they don’t feature grumpy cats or grumpy babies). Research from Ipsos shows that images represent 43% of the content people share. And a Skyword study (quoted here) shows that content that includes images gets 94% more views than content without an image.
Not only are images useful for illustrating the points in your post (such as screenshots), but they can give posts some thematic unity. Images can convey information, attract and direct the vision , show emotion (and make your readers feel that emotion, too).
But for many bloggers, image creation isn’t always easy, especially if you want to create graphics that get noticed and get shared. Luckily, there are several free tools that make the process a lot easier than when I first started blogging nine years ago. Here are three tools I’ve experimented with.
Canva
Canva says it offers “amazingly simple graphic design” so that anyone can become a designer. And I have to admit it’s got a lot to offer. The first thing I noticed when I logged in was the huge range of design types you could create, including templates for everything from a cover for your album or podcast to a Facebook cover image design.
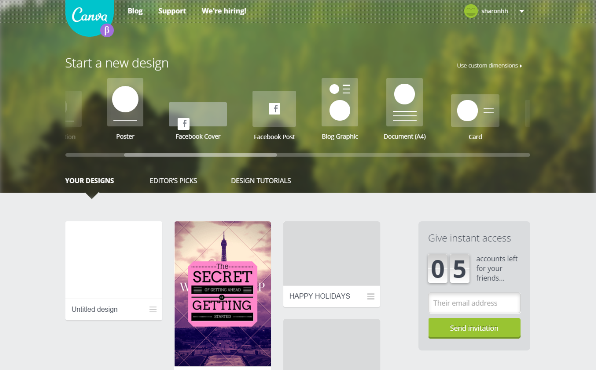
Using the resources is as simple as clicking on a button to get started. That brings you to the blank template you have chosen with buttons in the menu on the left of the page to give you access to layouts, text and backgrounds. You can choose from 1 million background images (yes, 1 million!) or upload your own resources to get something that’s really fresh. If you choose one of the pre-built templates, just click on individual elements to edit them.
One good Canva feature is the ability to select custom dimensions for graphic resources, which means you can use the tool to create long infographics, something that’s immensely popular on blogs now.
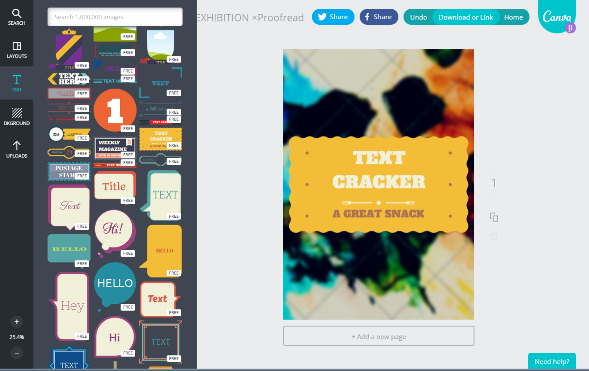
Overall, I thought Canva’s selection of layouts, backgrounds and text styles was excellent and the tool was easy to use with a simple click to add any element. Canva also provides an extensive library of tutorials and sends regular email tips to help you get more from the tool.
Finally, although it’s not for my blog directly, I’ll definitely return to Canva to create my next Kindle ebook cover, because the built in template will make this easy.
Visme
Visme is a relatively recent addition to my image creation arsenal – and it rocks! It allows bloggers to create presentations, banners, ads and – my personal favorite – infographics, which is mainly what I’ve done when trying it out.
When you start using Visme, you press a button to select the type of visual you want to create. This brings up a selection of templates – click the one you like most to get started. You also have the option of starting with a blank canvas, though as a non-designer I find the templates very helpful.
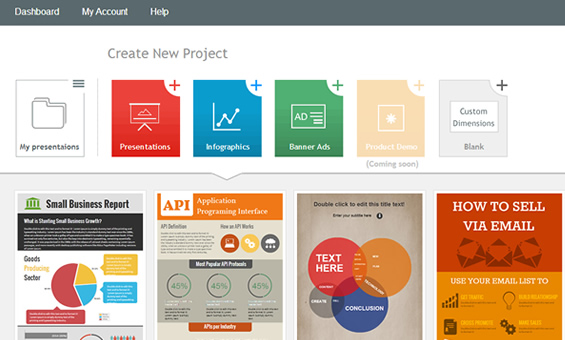
When you select your template, it comes up in the design window, where you can edit it either by using multiple options in the left-hand menu, by double-clicking on individual elements or by using the objects list at the top of the screen.
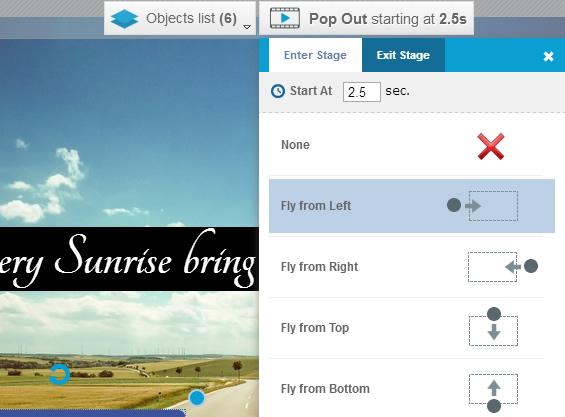
Either way, you can change fonts and text style, add images and videos (Visme has a huge database of Creative Commons graphics), change the backgrounds, add shapes or all kinds and add icons. All graphics are listed in themed collections and you can also search the image database. If you wish you can upload your own images too. Visme saves edits automatically as you work.
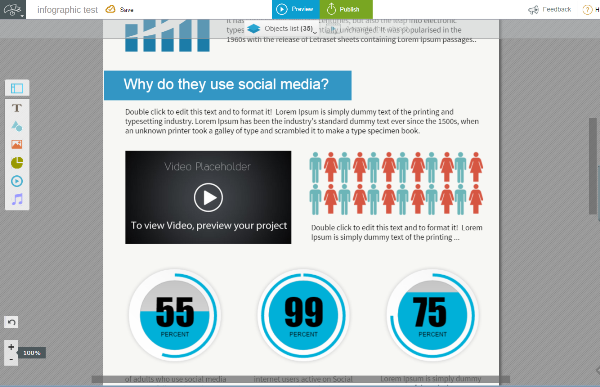
The killer feature in Visme is the provision of editable animated widgets (like percentage bars), which let you illustrate data in your infographic while grabbing your reader’s attention. Visme also has excellent publishing and sharing features.
Visme is a relatively new tool and has improved immensely in the six months or so I’ve been using it. If you’re looking to create graphics with some animation, this tool is worth trying.
Pixlr
Both Canva and Visme are great tools for creating memorable graphics, but there are so many options that you could get lost in the design playground. When I want to create a quick graphic, then my tool of choice is Pixlr.
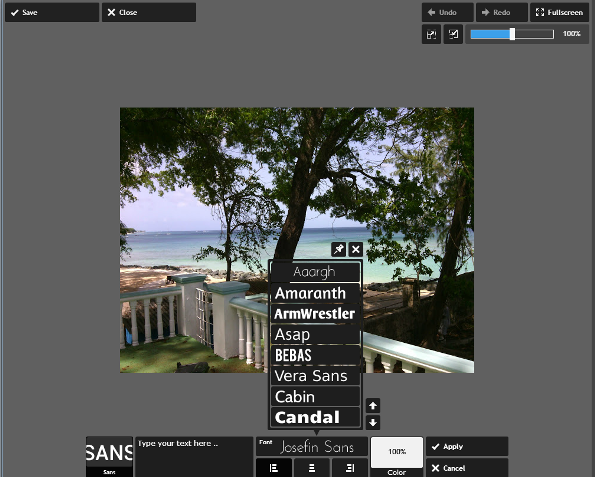
It’s available in several versions. One is more like Photoshop; another lets you put vintage overlays and more on photos. There’s even a new desktop version, which completely failed to work on my PC. That doesn’t matter, though, because I prefer the Pixlr Express web app (along with its mobile app).
In essence, Pixlr is a photo editor that lets you quickly adjust your photo and add effects, overlays, borders, stickers and type. If you’ve ever used any kind of photo editing program, you’ll know how to use Pixlr immediately, so there’s no learning curve.
I use it most for two things. The first is creating photo collages, such as the ones I created for a recent post on BuzzSumo. Pixlr has a number of collage layouts and once you import your images you can edit the overall collage in the usual way.
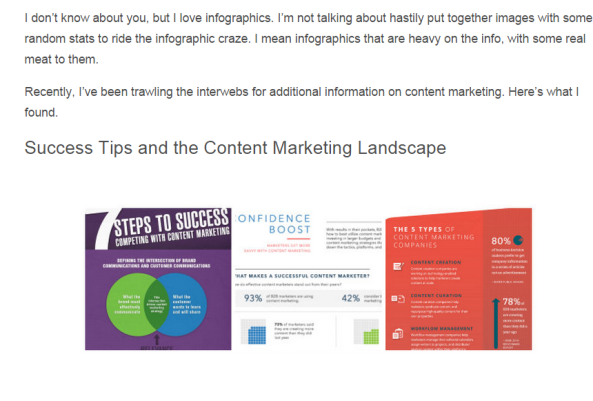
The second is creating quote and header graphics for my blog posts. I used Pixlr to create a standard background which I use as the starting point for my quote graphics, then I just copy and paste or type what I want to add. It only takes a couple of minutes.
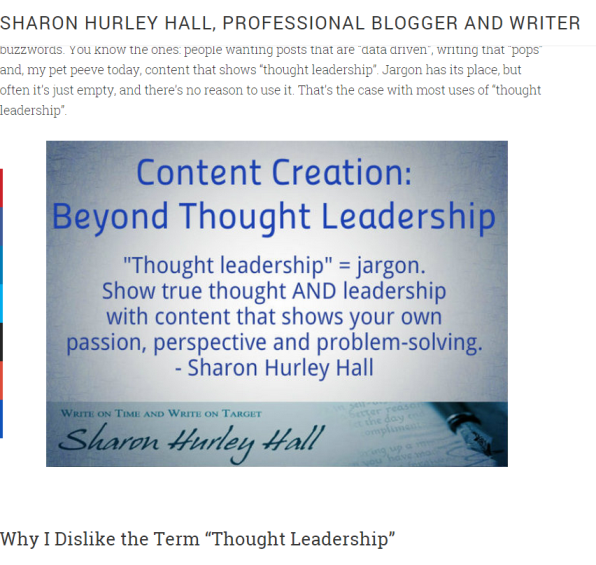
I wouldn’t use this tool for infographic or presentation creation, but it rocks for this type of quick graphic. I also like the addition of overlays which let you spice up your images according to the season.
All three of these tools have something to offer to bloggers. My recommendation:
- Pixlr is the best tool for quote graphics
- Canva supports the widest range of graphic types
- Visme is great for presentations and infographics
For more on images check out these additional resources:
- The Ultimate Guide to Finding and Using Images in Your Content
- Four Free & Easy Tools For Creating Socially Share-worthy Image Files
What’s your favorite tool for creating graphics for your blog?

