WP Beaver Builder is a WordPress plugin and theme that can be used together or separately to create amazing websites with ease. You have full control over your layout by using an easy drag and drop system. You can start with a template or just create your own from scratch.
A Few Basic Features
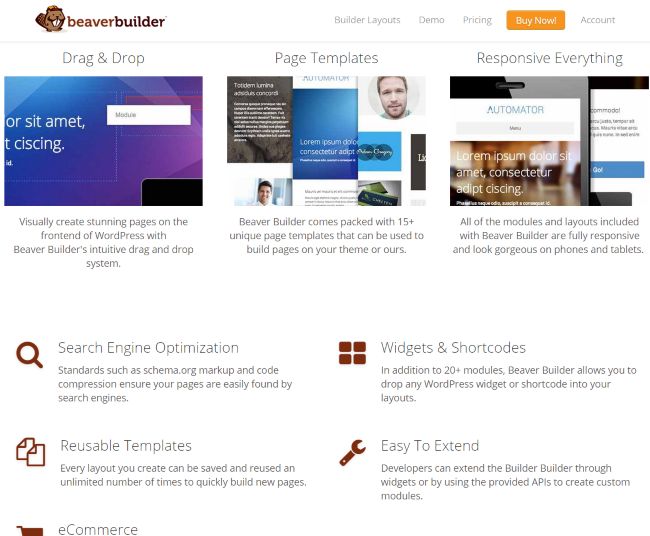
- Drag and Drop — Intuitively drag and drop components to quickly create pages that look amazing.
- Page Templates — There are 12 templates for landing pages and 11 templates for content pages.
- Responsive — They look good on desktops and smaller screens like tablets and phones.
- Search Engine Optimization — Uses SEO standards like schema.org and code compression.
- Widgets & Shortcodes — 23 modules that work with any widget or shortcode.
- eCommerce — There is a custom module that fully supports WooCommerce. You can easily drop your products onto any page.
For this review, I used both the plugin on my site and the demo on WP Beaver Builder’s site.
A Look at the Demo
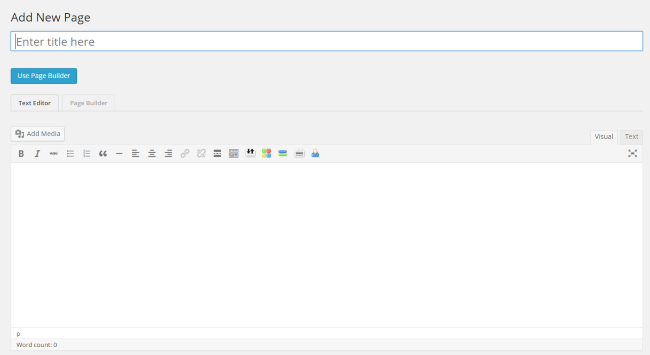
When you create a page in WordPress you will see the page builder tab with your text editor. When you select the page builder, WP Beaver Builder starts.
Page Templates
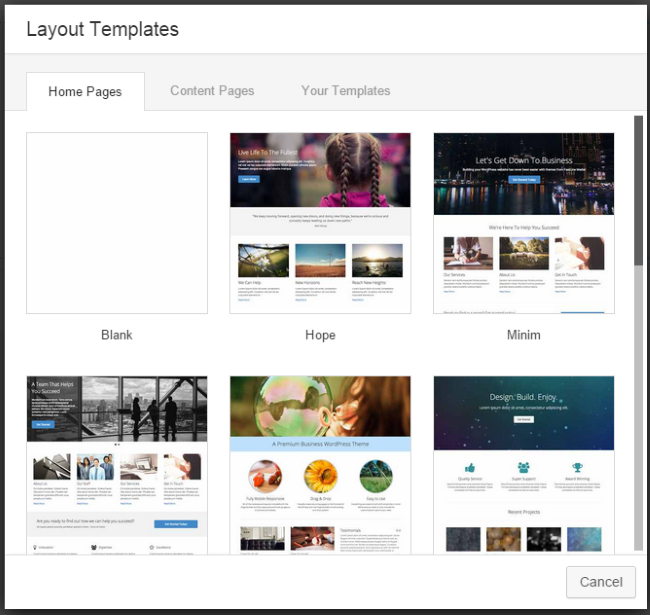
The first option is to use a page template. You can choose one to get started quickly or you can build the page yourself. If there is a template that is close to what you have in mind then this is a great way to get your page built fast. Once you choose a template you can start editing.
Editing a Template
You can edit everything in the template. Editing a template is as simple as clicking on what you want to change and making the change. You can move things around, change the text, modify what the buttons do, change photos, and so forth.
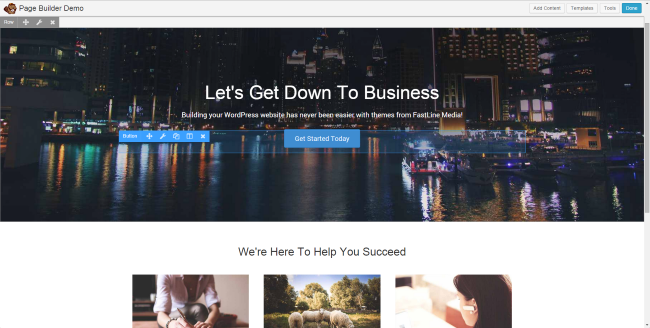
For example, selecting button settings brought up a list of options that included the text on the button, a large list of web icons, the link, and whether or not the link opens in the same page or a new page. There are also advanced settings where I could change the colors, sizes, animation, CSS, etc. I could also duplicate it and drag it somewhere else.
Editing the text was just as easy. Selecting it brought up a text editor where I could replace the supplied text with my own. It looks like the standard WordPress text editor, so all of the expected text formatting and options are there – even the Add Media button. I like the way this works because I’m writing the text and adding images on the page itself. This gives WordPress a WYSIWYG function.
Callouts also have special settings where you can easily change the heading, text, image, call to action link, CSS, etc. Just like all the other modules, they can be moved, deleted, copied, and more. Rather than just being able to upload a photo, Callouts have a few more image editing features. For example, you can crop images according to preset settings. You can crop as landscape, panorama, portrait, or square. You can also place the image above, below, to the right, or to the left of the text. Call to Action lets you set the link, establish whether it opens in the same window or a new window, and you can choose whether it is a button or text.
If you decide you want to change the template you can either replace the current template or append it. Appending the layout adds the new layout under the current one. This was interesting because it allows you to combine layouts. You can do things like use a blog layout and add an FAQ at the bottom, for example.
You can also modify the templates with the tools on the right side of the screen. We’ll look at these tools as we build a page by hand.
Building by Hand
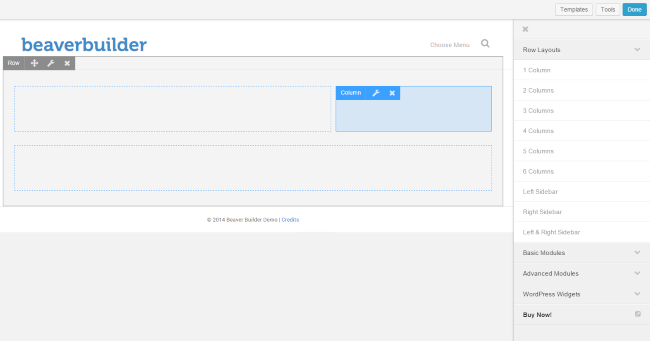
If a template doesn’t have the layout you want you can build the page by hand. Instead of choosing a template, choose blank. This gives you a clean canvas and a list of options on the right side that you can choose from. You can choose rows, modules, and widgets.

Row Layouts
You can choose from 1 to 6 columns and have sidebars on the left, right, or both. You can drag and drop them onto your page builder and you’ll have created your layout. It’s easy to delete, add, or move anything on the page builder.
Basic Modules
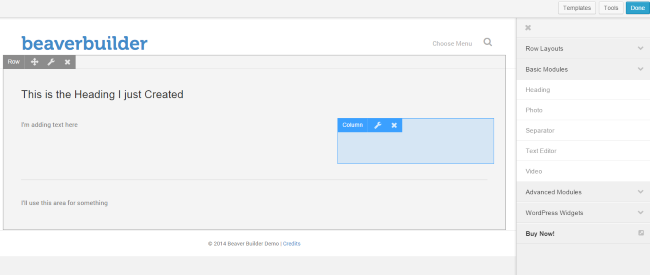
The basic modules include photo, text editor, and video. Just start dragging and dropping.
Advanced Modules
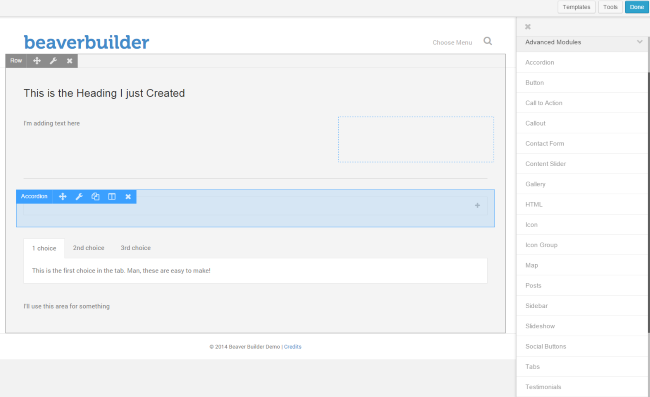
The advanced modules give you a ton of features to use, like:
- Accordion
- Button
- Call to Action
- Callout
- Contact Form
- Content Slider
- Gallery
- HTML
- Icon
- Icon Group
- Map
- Posts
- Sidebar
- Slide Show
- Social Buttons
- Tabs
- Testimonials
- WooCommerce
I’m impressed with the choices here. Your website will look professional and you won’t believe you built it in minutes. Just like all the other components, these are placed by drag and drop and are easily edited.
Widgets
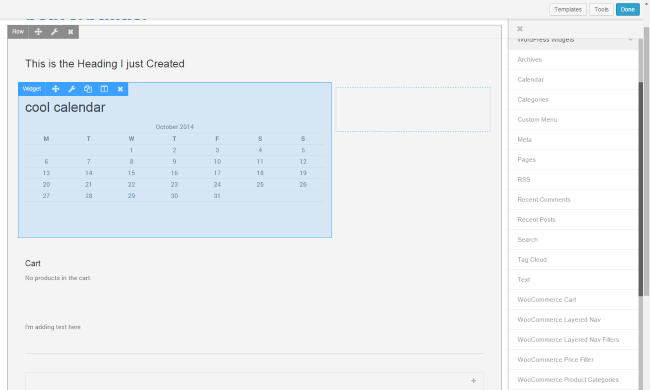
Widgets are your standard WordPress widgets. They can be placed anywhere you want and can easily be moved.
Once you’ve created a layout you like, whether it was made form a template or by hand, you can save it as a template so you can reuse it and modify it as you see fit.
Pricing
There are two editions of WP Beaver Builder: Standard and Developer. Both offer an excellent list of features.
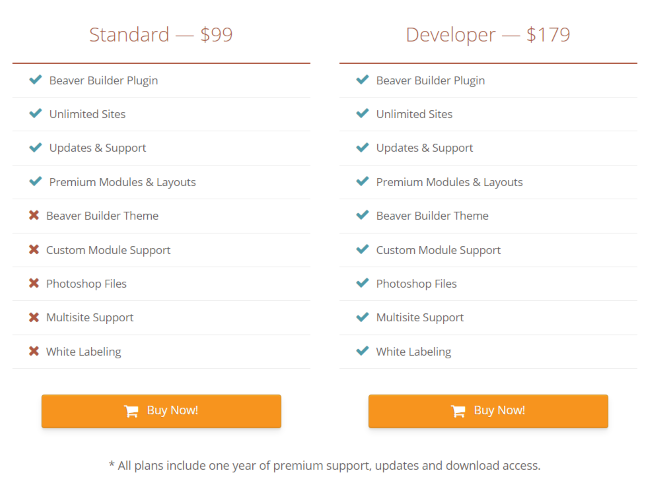
The Standard edition is $99 and includes the plugin that will work on unlimited sites, updates, and premium modules and layouts.
The Developer edition is $179 and adds the Beaver Builder Theme, custom module support, Photoshop files, multisite support, and white labeling.
Final Thoughts on WP Beaver Builder
WP Beaver Builder is fast and easy to use. It’s both powerful and simple. Even if you buy a pre-made template for WordPress, you have to make modifications if you want any customization at all, and it won’t be this fast and easy. This solution makes customization simple. Plus, pages made with it load quickly—a nice bonus.
For the level of power and customization as well as the ease of use, WP Beaver Builder is easy to recommend. Now over to you. Have you used this plugin? I’d love to hear your thoughts on it in the comments below!

